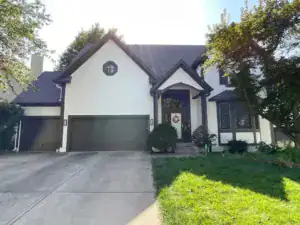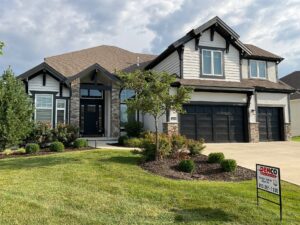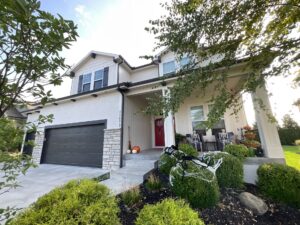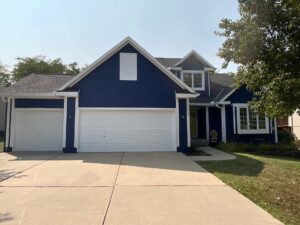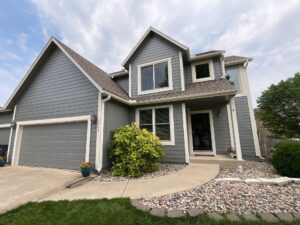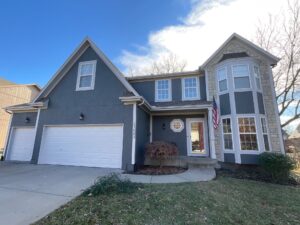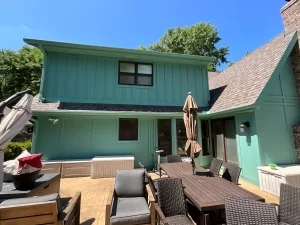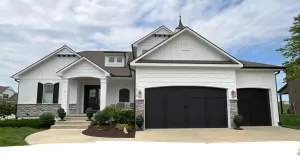
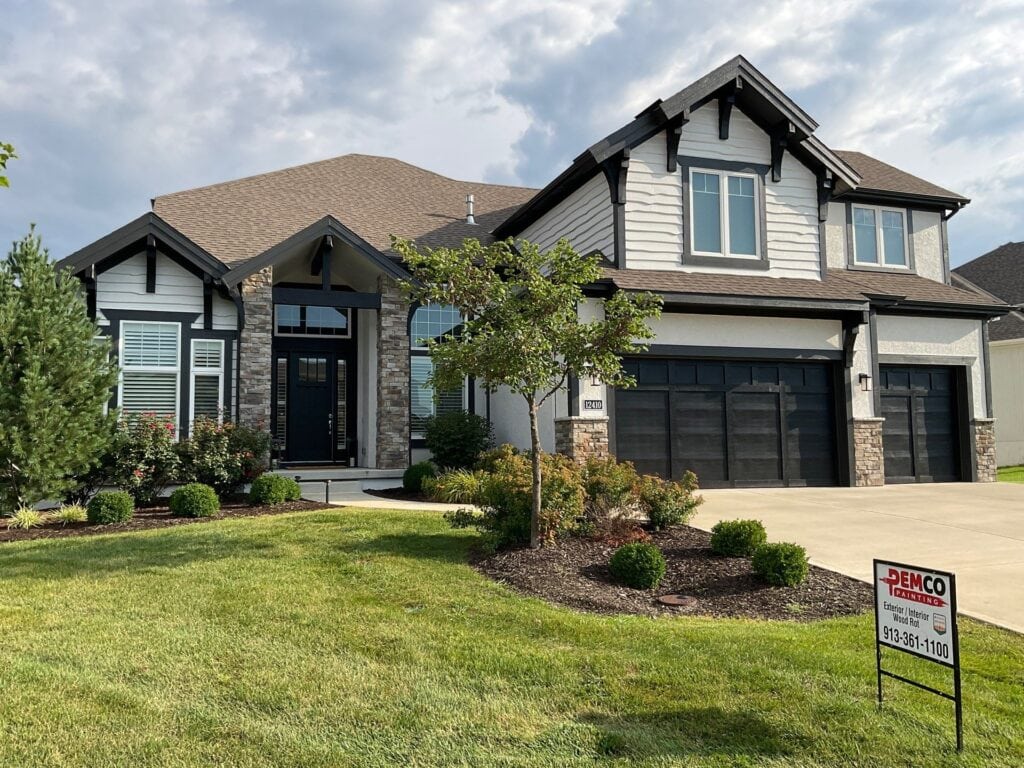
A homeowner in the Mills Farm neighborhood of Overland Park, Kansas contacted PEMCO Painting after being referred by a neighbor whose home we had previously painted.
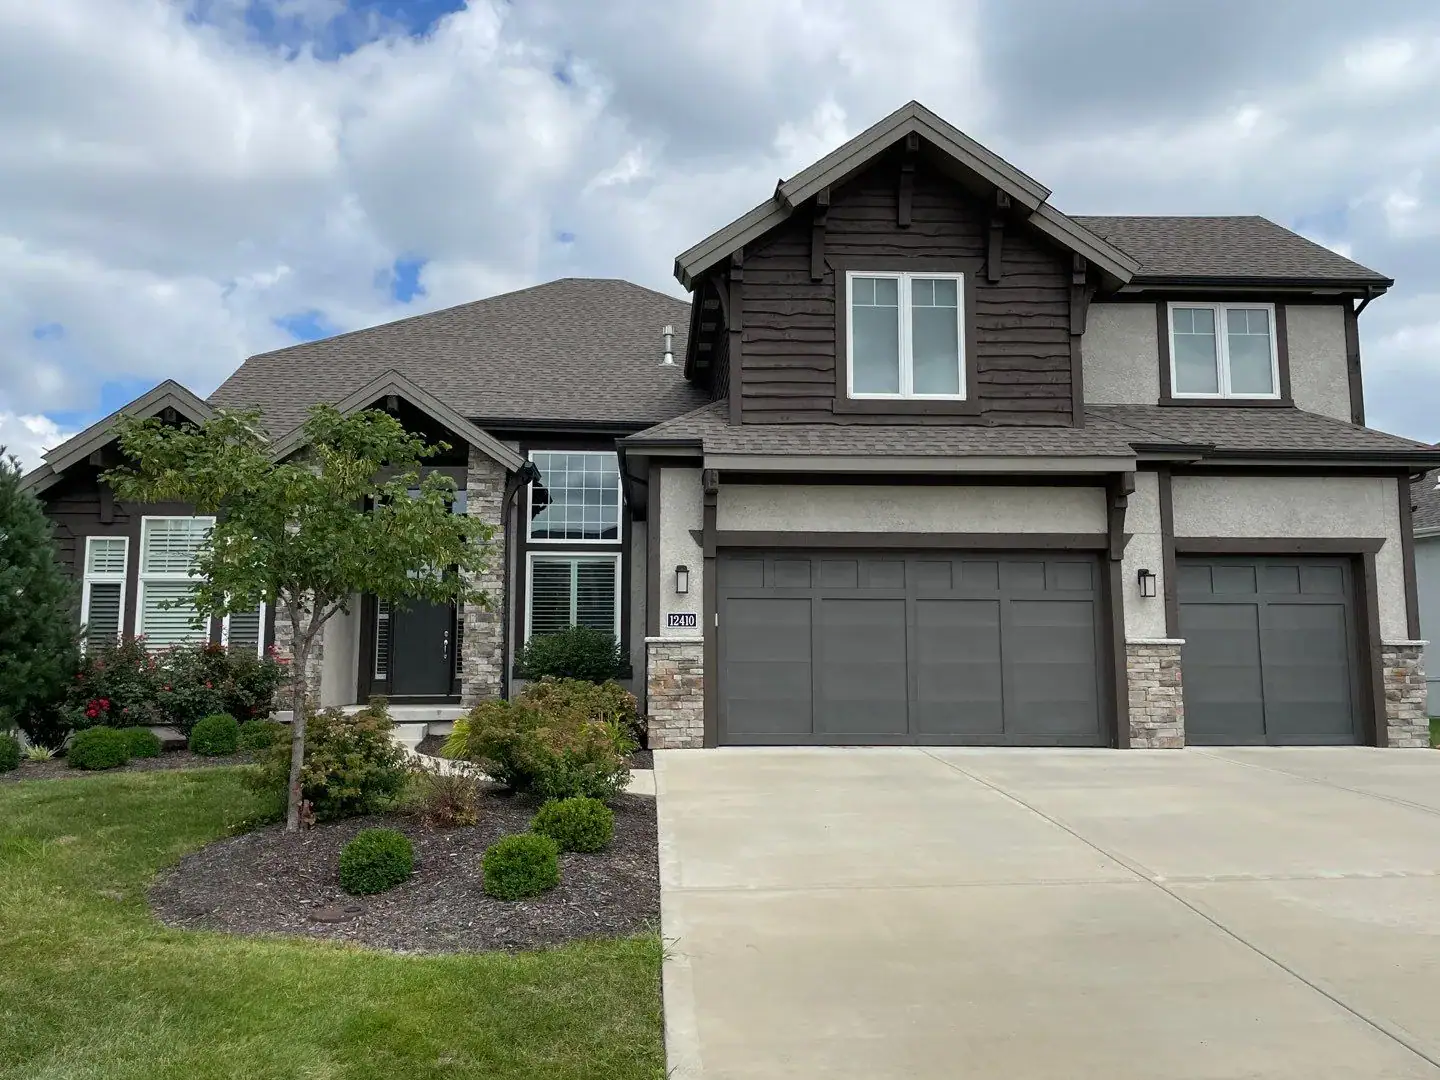
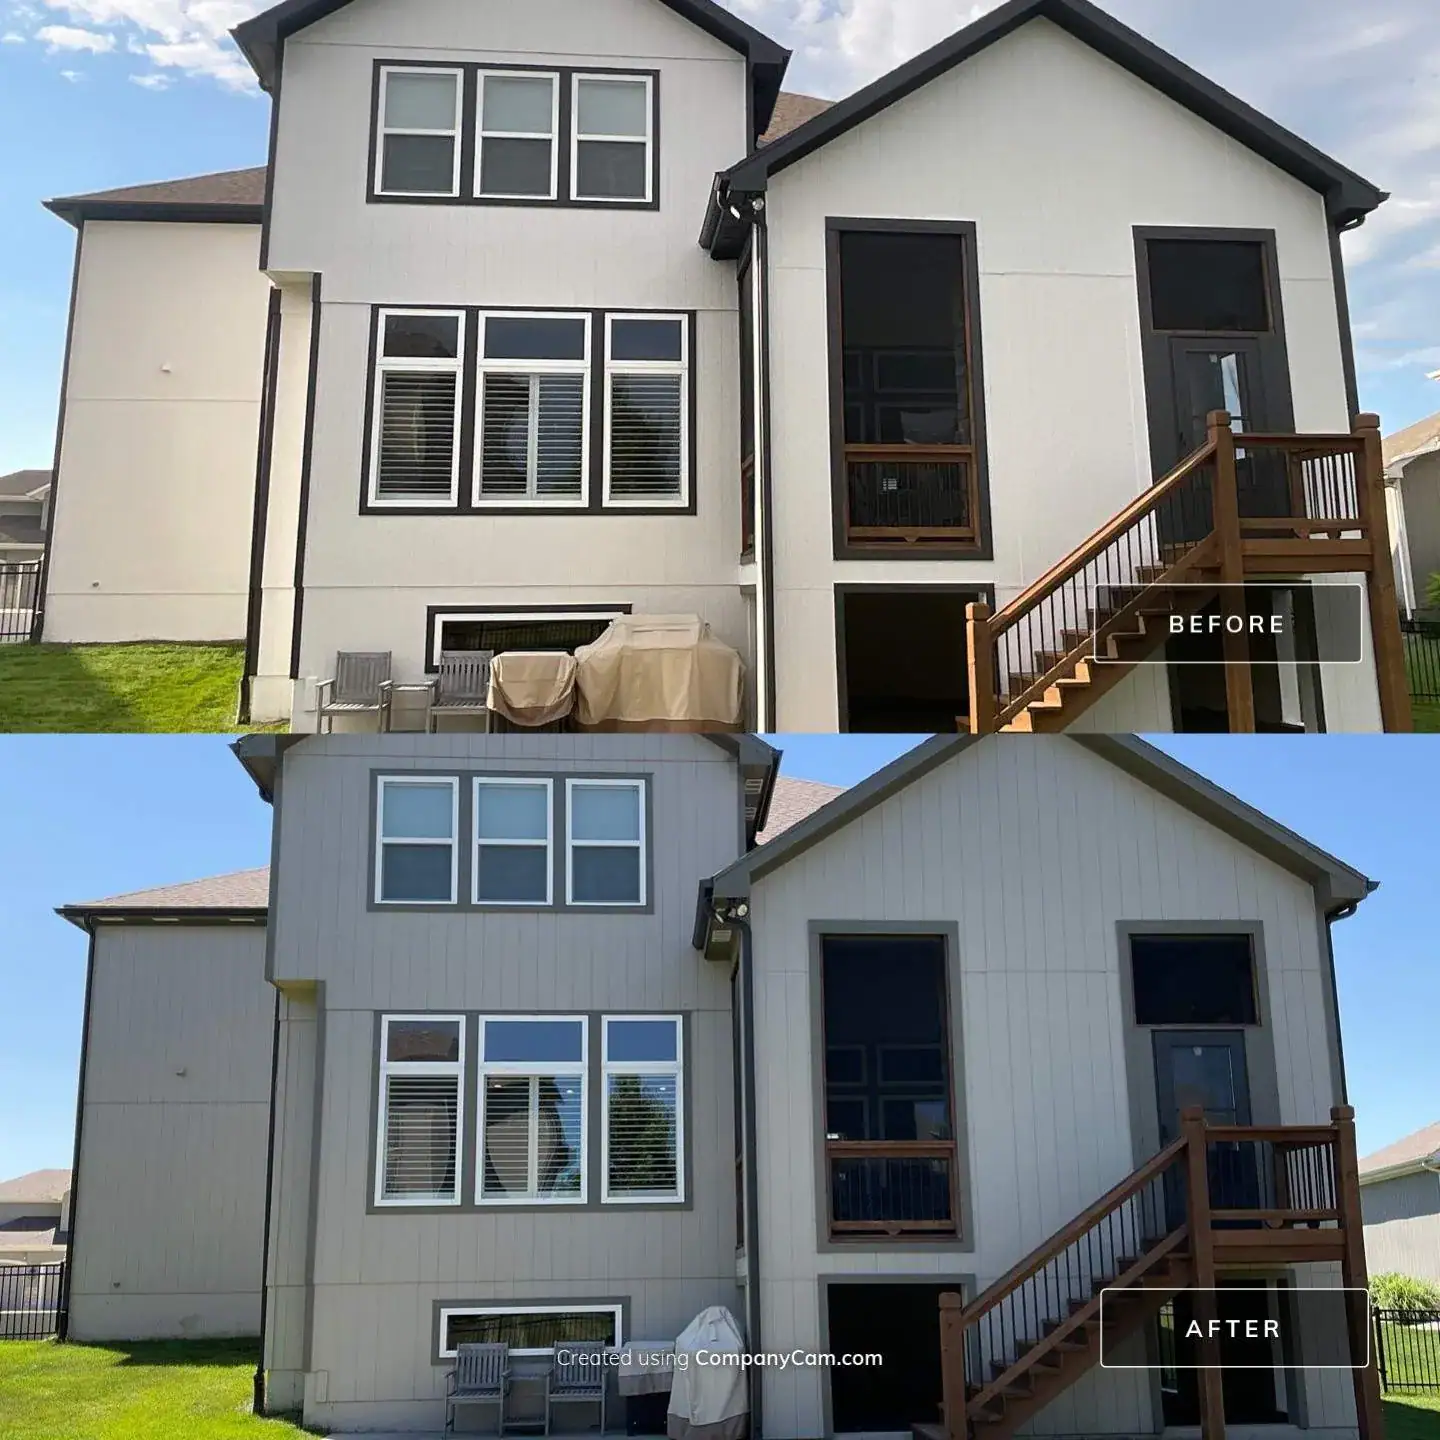
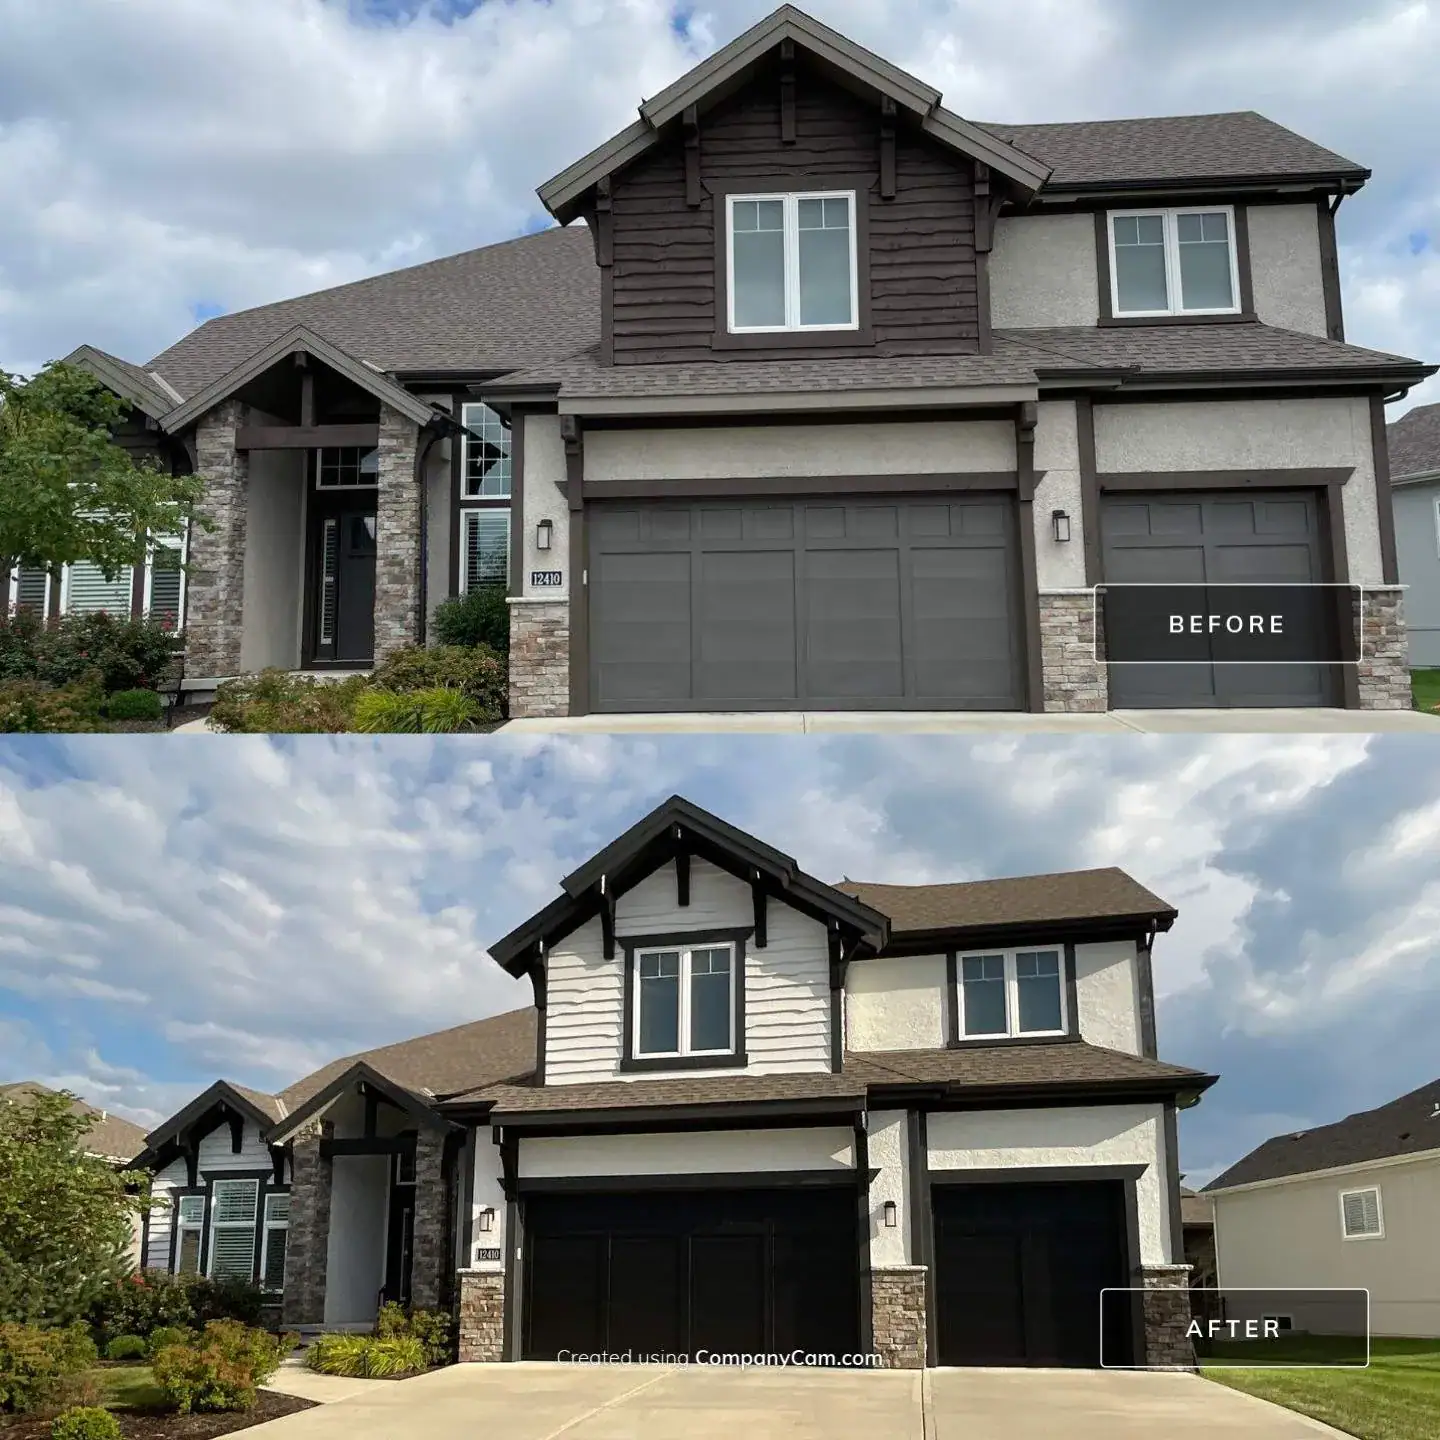
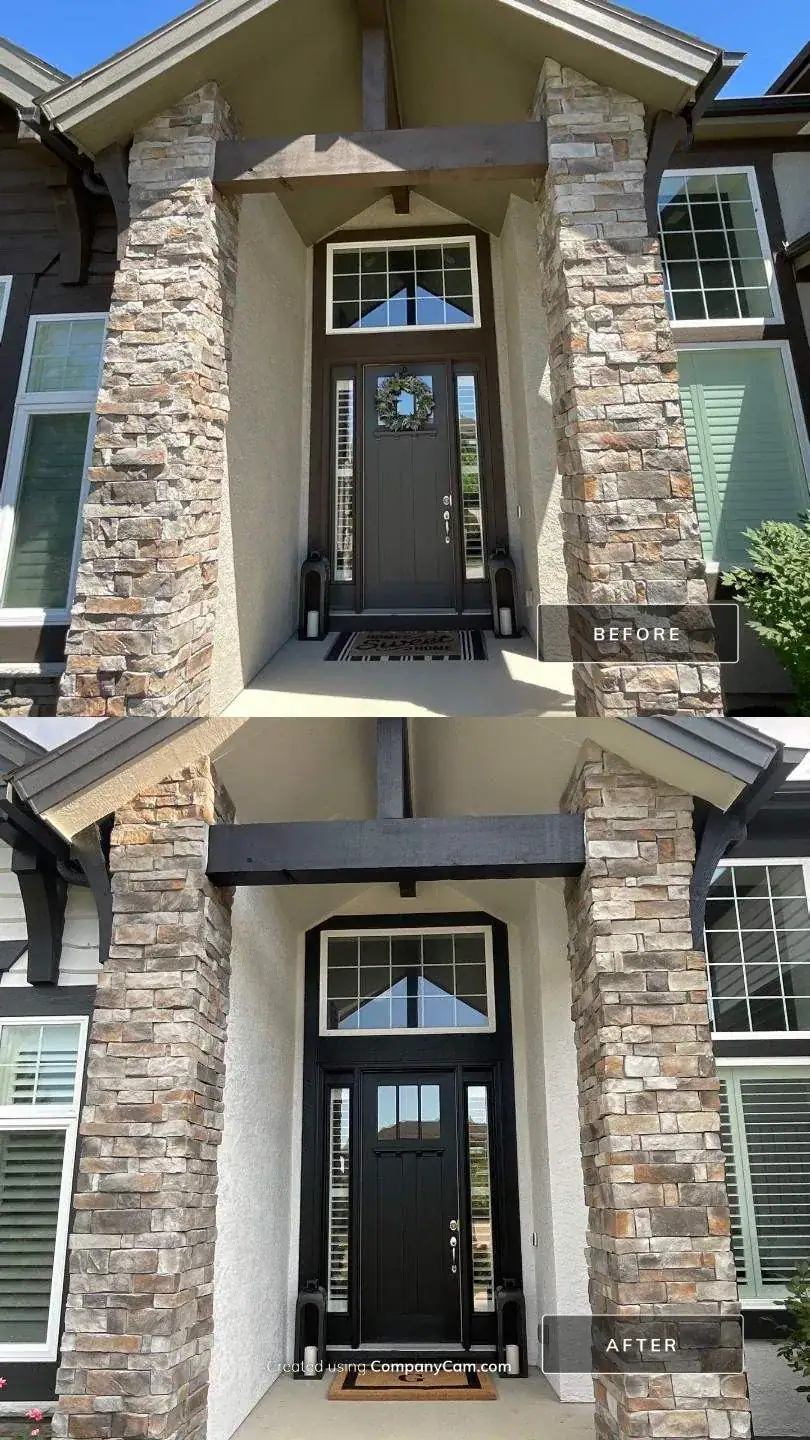
The home was already beautiful, but its exterior featured a much darker, medium-tone color scheme. The homeowners had a completely different vision: they wanted to brighten the exterior with a white body color while using dark trim and black accents to highlight the home’s architectural details.
Because this was a large home with multiple siding materials and extensive accent work on all four sides, this exterior painting project required careful color planning, detailed preparation, and a specific application process to successfully make the transition from darker colors to white.
Planning the New Exterior Color Scheme
During our initial walkthrough, we met with the homeowners to discuss both the condition of the exterior and their ideas for the new color scheme.
Unlike many homes where most of the accent details are concentrated on the front elevation, this home featured architectural accents throughout the exterior, including:
- Soffits and fascia
- Window and door trim
- Decorative trim
- LP SmartSide siding and trim
- Stucco
- Cedar lap siding
- Garage doors and surrounding trim
With so many different surfaces and architectural details, determining exactly where each color would be used was an important part of the project.
We arranged a professional color consultation to help the homeowners turn their ideas into a finished color palette. During the consultation, different whites, grays, and blacks were compared using Sherwin-Williams color samples.
The homeowners ultimately selected:
Main body: Sherwin-Williams Origami White SW 7636
Trim: Sherwin-Williams Iron Ore SW 7069
Accent color: Sherwin-Williams Tricorn Black SW 6258
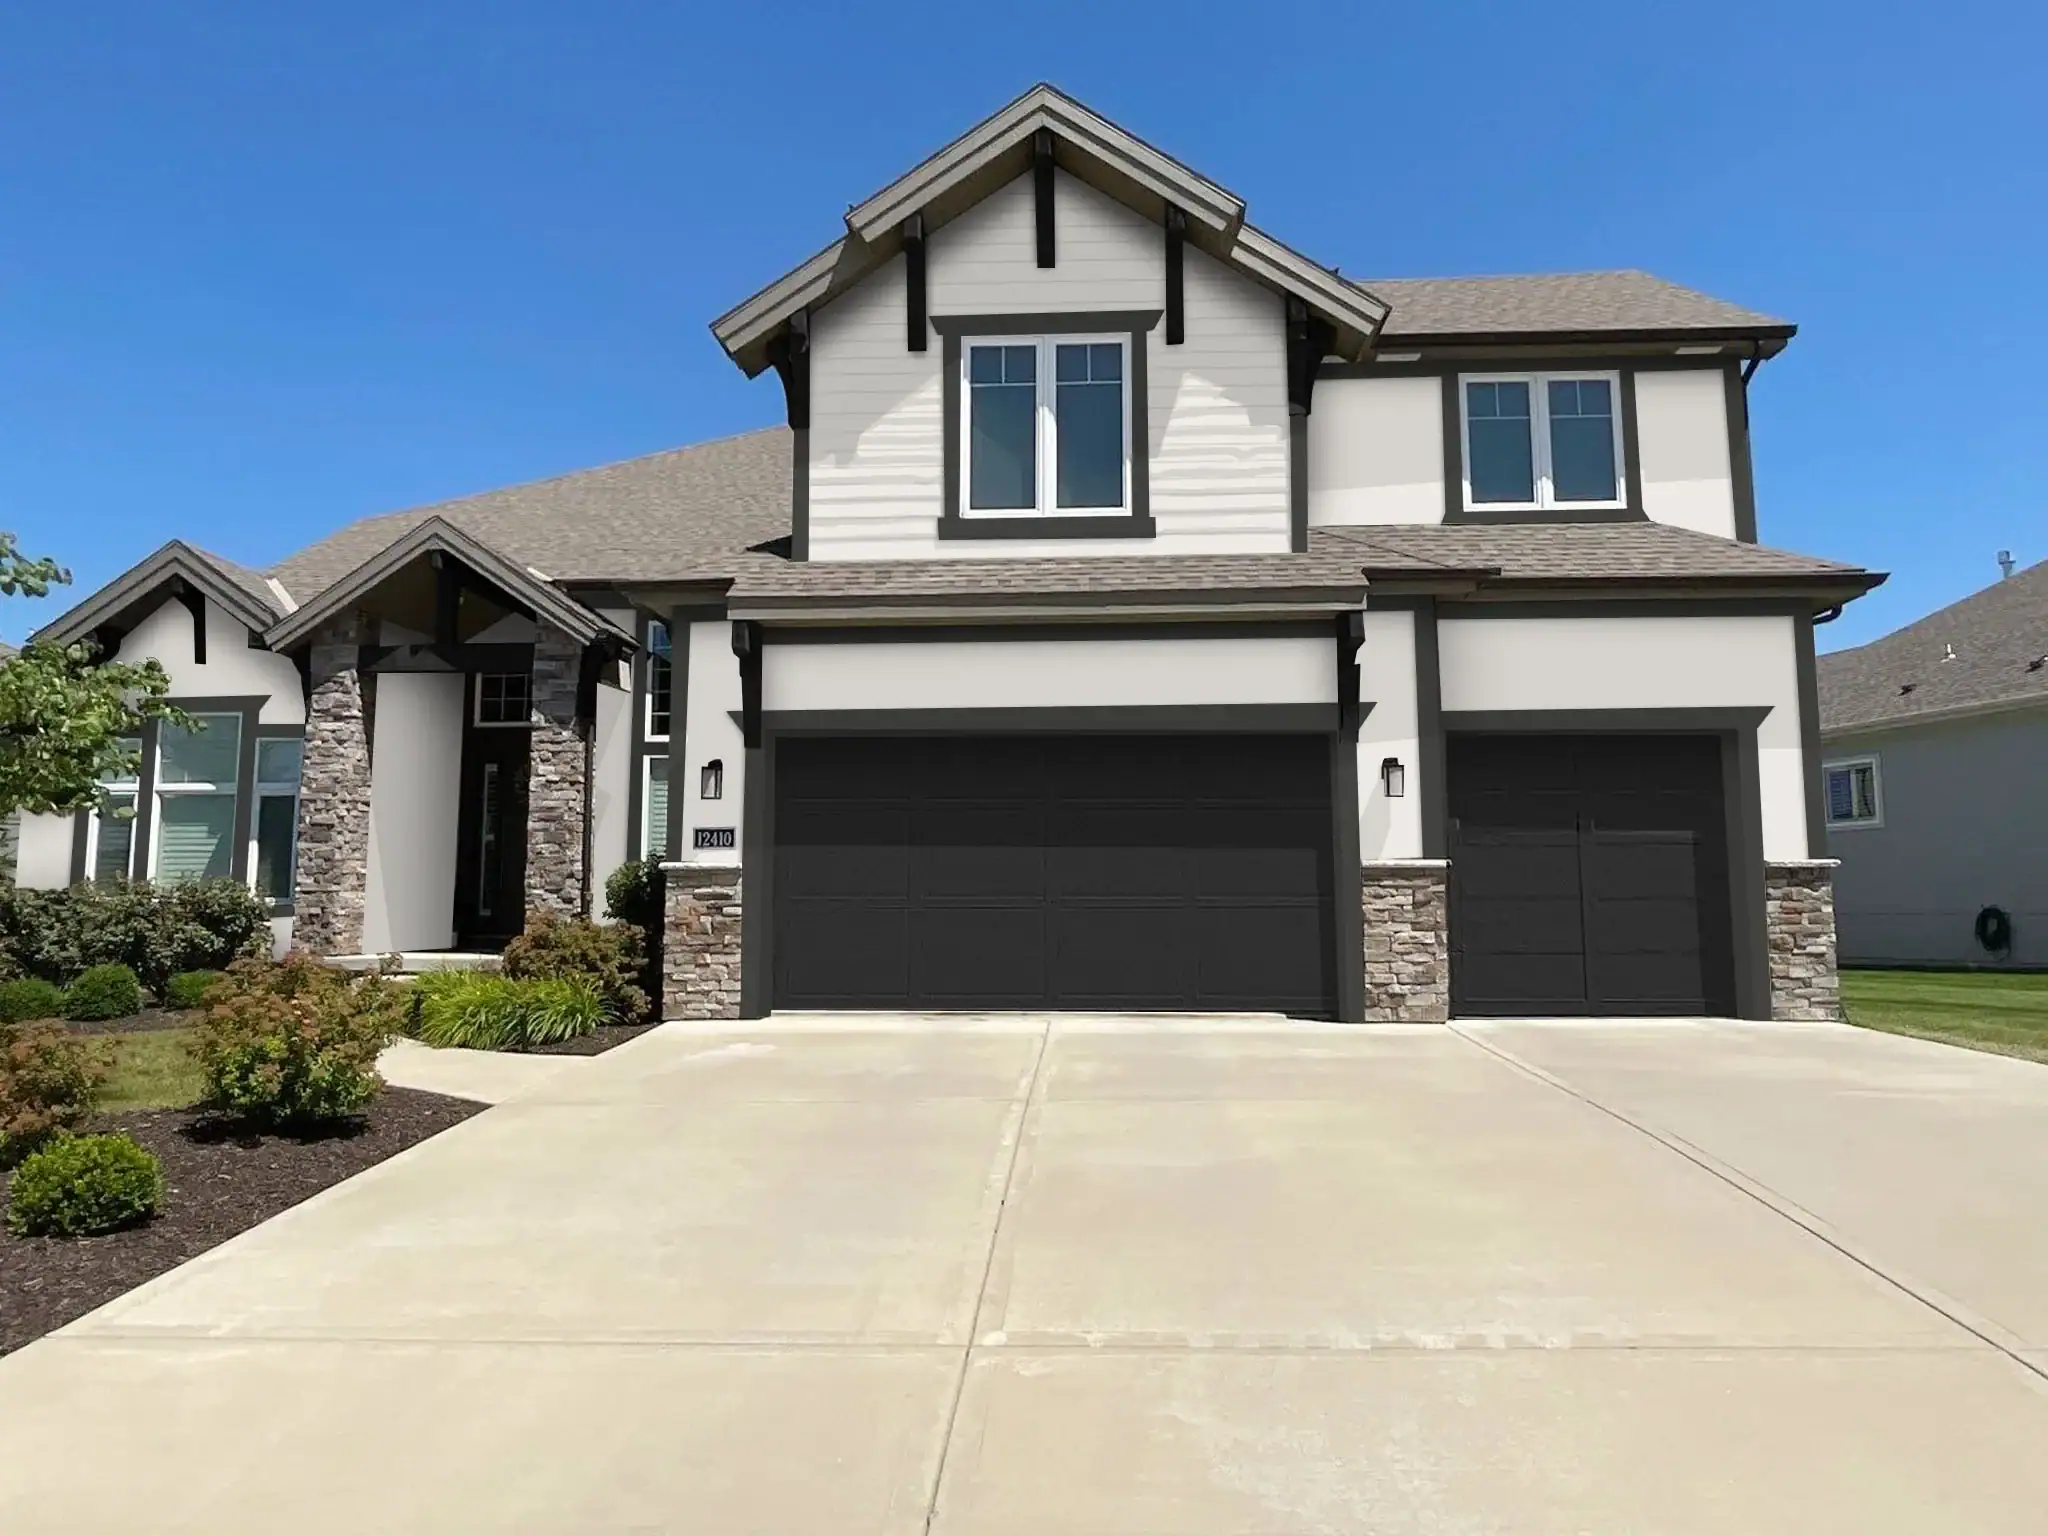
Using a Digital Rendering Before Painting
Before beginning the project, we also created a digital rendering showing how the new colors could be distributed across the front of the home.
A rendering can be especially helpful when a homeowner is making a major exterior color change because it provides a visual reference for decisions such as where the dark trim should stop and where an accent color should begin.
However, a digital rendering isn’t a replacement for testing actual paint colors on the house.
The homeowners also evaluated physical paint samples on the exterior before finalizing Origami White as the primary body color.
Preparing a Darker Home for a White Exterior
Changing a house from a medium or darker exterior color to white presents a different challenge than repainting it with a similar color.
Coverage becomes extremely important.
For this project, we recommended Sherwin-Williams Duration exterior paint for the painted surfaces. We also developed an application process specifically around achieving consistent coverage over the existing darker colors.
Before painting began, the entire house was pressure washed to clean the exterior and provide a properly prepared surface for the coatings.
Minor Wood Rot and Exterior Repairs
During the preparation process, we addressed several minor repair items.
Some areas of LP SmartSide trim had been damaged near the lower portions of the home, including areas that had likely been impacted by lawn equipment. Those damaged pieces were replaced before painting.
We also replaced garage door weatherstripping where needed.
Although PEMCO performs wood rot repairs when damaged materials need replacement, one of our priorities during exterior preparation is also to help reduce the likelihood of future moisture-related deterioration.
That means paying close attention to the areas where water can work its way behind siding and trim.
Caulking and Sealing the Exterior
A significant portion of the preparation on this home involved caulking and sealing.
The house included LP SmartSide siding and trim along the sides and rear, while the front incorporated a combination of LP SmartSide, stucco, cedar siding, and decorative architectural elements.
We used Sherwin-Williams SherMax urethanized elastomeric sealant in appropriate areas around the exterior.
Our crew worked through areas including:
- Window trim
- Door trim
- Siding seams
- Previously caulked joints
- Nail heads
- Trim transitions
- Other vulnerable gaps and penetrations
A large home with this much exterior detail can require dozens of tubes of sealant and considerable labor before the first finish coat is applied.
For this project, the sealing process alone required roughly a full day to a day and a half of crew time.
Pre-Brushing the LP SmartSide Grooves
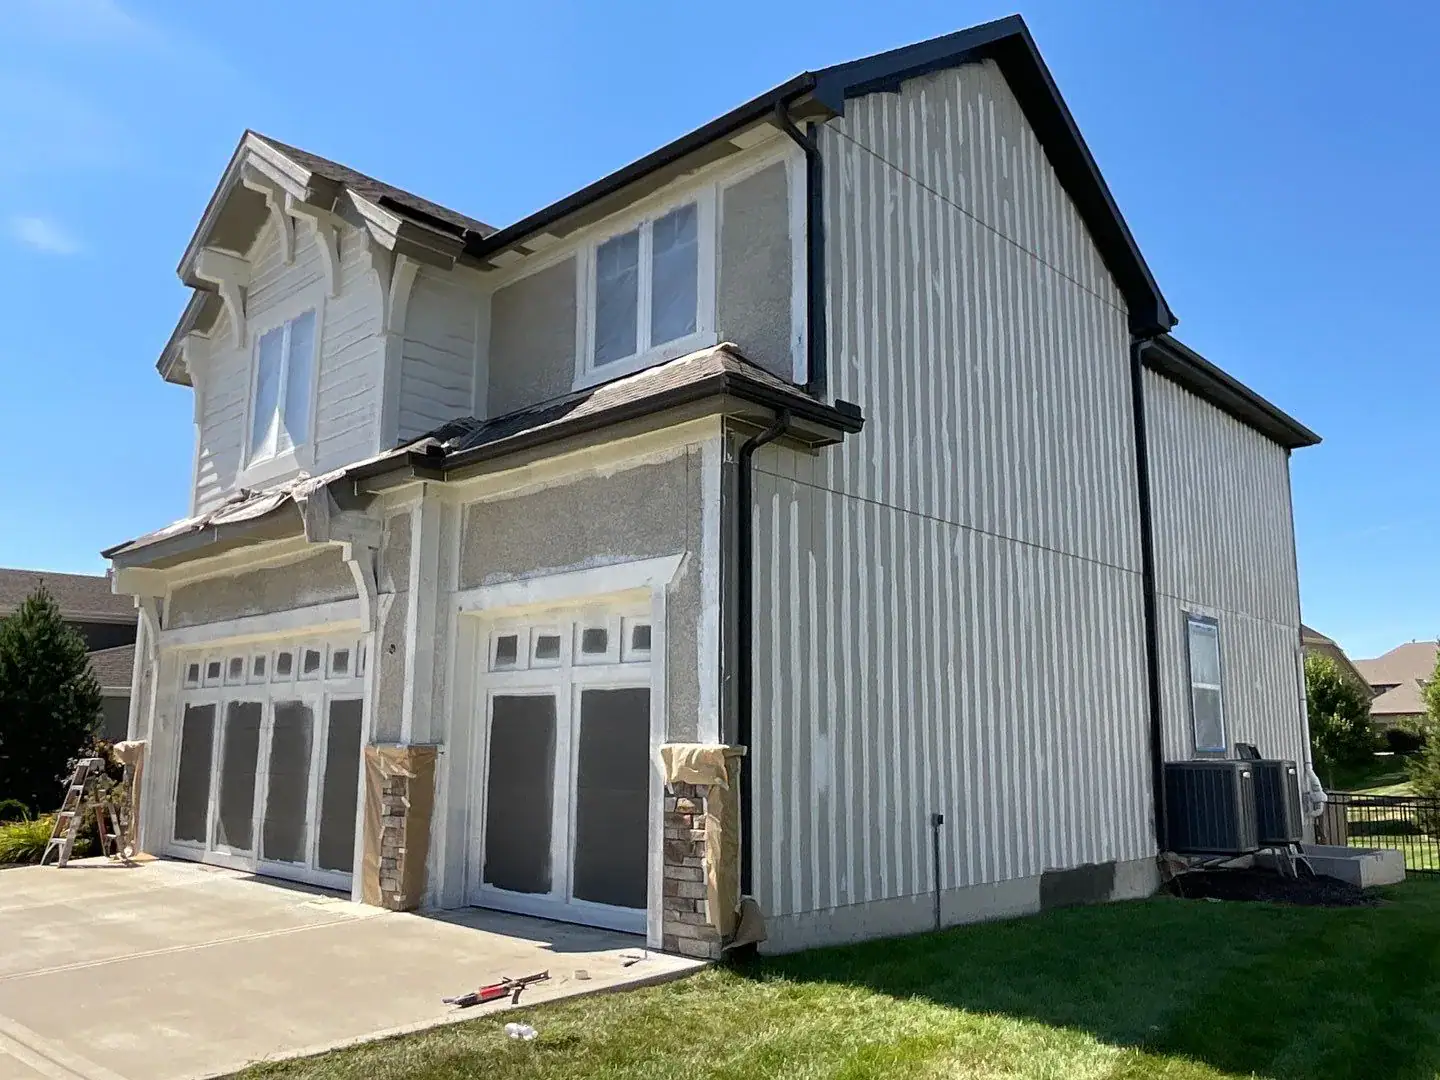
One of the most important details of this particular project involved the grooves in the LP SmartSide siding.
When changing darker siding to a light color such as Origami White, the recessed grooves can sometimes remain visibly darker if paint applied by spray does not fully penetrate those areas.
That can leave thin dark lines running vertically through an otherwise white wall.
To prevent that from happening, our crew added an extra preparation step.
Each siding groove was pre-brushed by hand with the Origami White coating before the primary paint application.
At this stage, the house temporarily looked almost striped because every groove had been individually coated.
Once the grooves were covered, we could move into the primary application knowing that these difficult recessed areas already had a foundation of the new color.
Applying Origami White to the Exterior
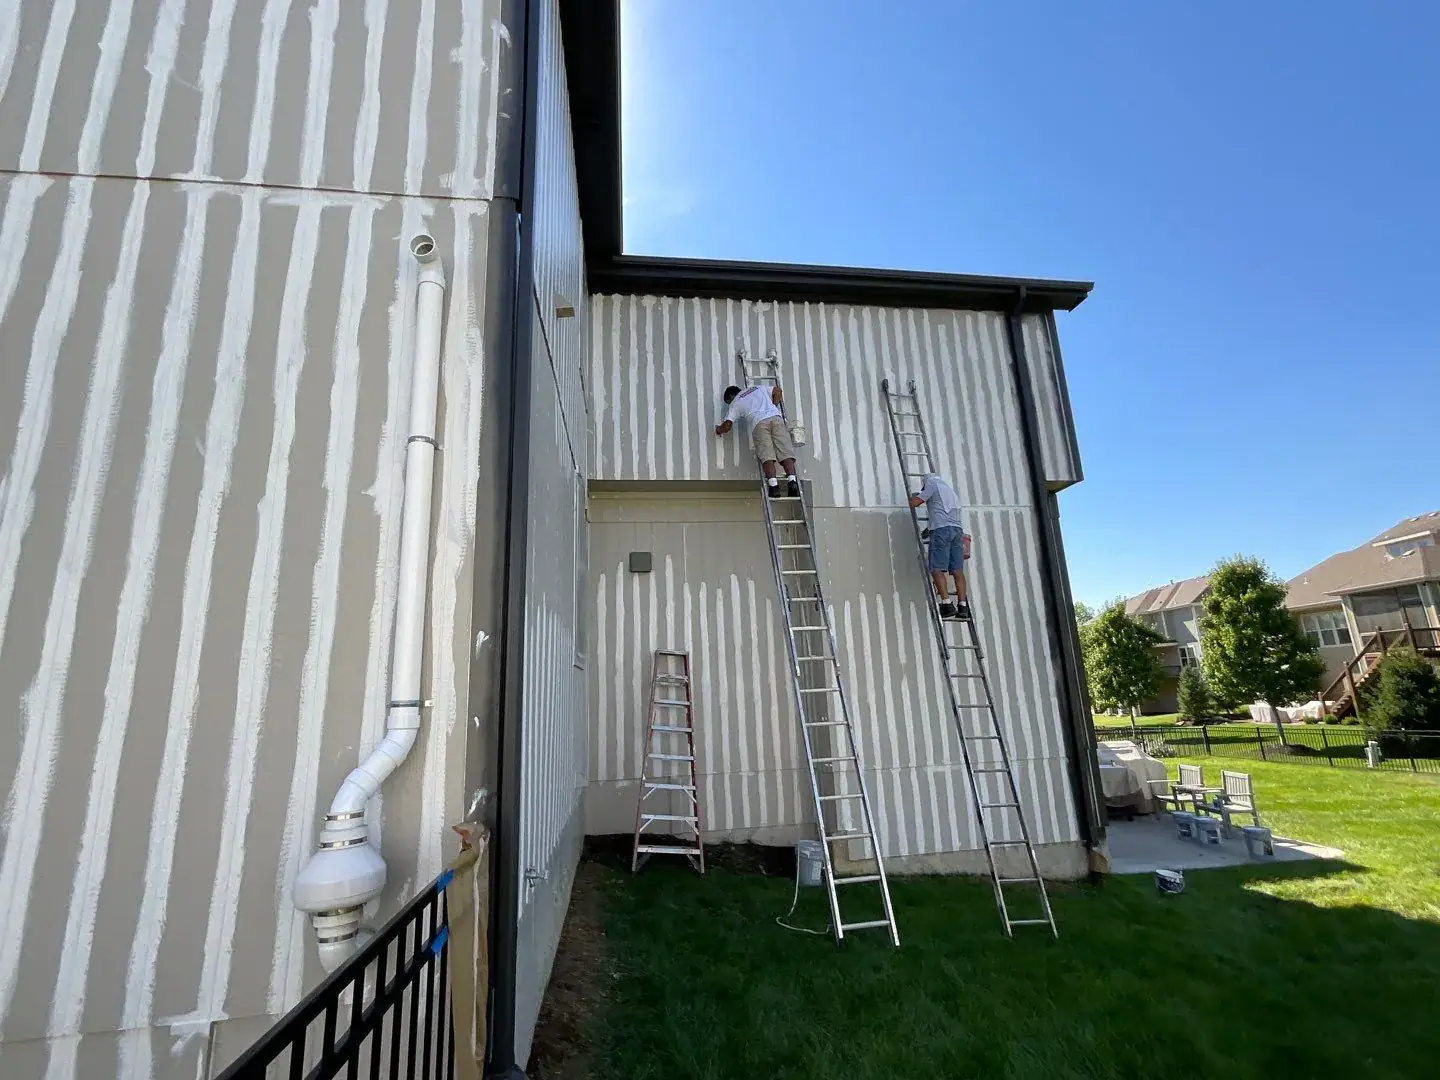
After masking the windows, doors, stone, and other areas that were not being painted, our crew began applying the new body color.
Sherwin-Williams Duration in Origami White SW 7636 was applied to the appropriate siding and stucco surfaces.
Different substrates required different application techniques.
On the stucco, the coating was sprayed and then back rolled so the paint could properly work into the textured surface.
On the LP SmartSide areas along the sides and rear of the home, our crew used a crosshatch spray application technique, applying material vertically and horizontally to build adequate coating thickness and achieve consistent coverage.
Combined with the hand-brushed siding grooves, this process allowed us to make the dramatic transition from the existing medium-tone exterior to Origami White while achieving the coverage the project required.
Preparing and Finishing the Cedar Accents
The front elevation also contained cedar siding and architectural elements that required a different coating approach.
Because we could not confirm exactly what type of stain had previously been used on the cedar, we consulted with our Sherwin-Williams representative before proceeding.
Based on that recommendation, the appropriate cedar areas were primed before applying a Sherwin-Williams WoodScapes finish to the designated accent areas.
Treating the different substrates individually was important because the home included painted siding, stucco, cedar, and multiple trim materials rather than one uniform exterior surface.
Adding Iron Ore and Tricorn Black Accents
Once the Origami White body was completed, our crew moved on to the darker architectural details.
Iron Ore SW 7069 provided contrast for much of the trim, while Tricorn Black SW 6258 was used for selected accent areas throughout the home.
The contrast dramatically changed the appearance of the exterior.
Instead of the original darker, more uniform color scheme, the finished house now had a bright body color that allowed the dark architectural details, stonework, roofline, windows, and decorative trim to stand out.
An Eight-Day Exterior Painting Transformation
The complete project took approximately eight working days.
Near the end of the project, our crew removed masking materials, cleaned the work areas, and performed detailed touch-ups.
On a home of this size, we typically dedicate significant time near completion to inspecting the work before asking the homeowner to perform the final walkthrough.
Our team first conducted its own inspection and addressed any remaining details. We then walked the completed exterior with the homeowners to make sure the finished project matched the plan we had developed with them at the beginning.
What the Homeowners Said About Their Experience
The homeowners later left PEMCO Painting a five-star review describing their experience with the project:
“The color consultation that we got was super helpful so that we found just what we wanted in terms of base, trim and accent colors. The crew that performed the actual painting was professional, detail oriented and efficient.”
They also highlighted the communication throughout the project and the care taken to guide them through a major exterior color change they had never undertaken before.
Several years after the project was completed, the exterior continues to look great.
Exterior House Painting in Overland Park, KS
This Mills Farm project is a good example of why a major exterior color transformation involves much more than simply choosing a new paint color.
Successfully changing a darker home to white required us to consider the existing substrates, coverage requirements, siding grooves, cedar, stucco, caulking, repairs, masking, application methods, and placement of multiple accent colors before painting began.
For homeowners considering exterior house painting in Overland Park, KS PEMCO Painting can help with everything from the initial project walkthrough and exterior preparation to color selection, repairs, painting, and the final inspection.
Our goal is to create an exterior finish that looks great when the project is completed while giving proper attention to the preparation underneath it.
You can also see how our team handled extensive wood rot repair and exterior painting in Overland Park on another home in the Birchwood Hills neighborhood.