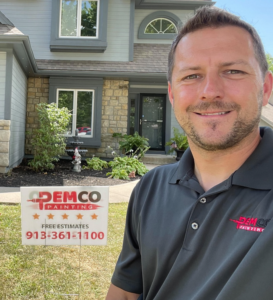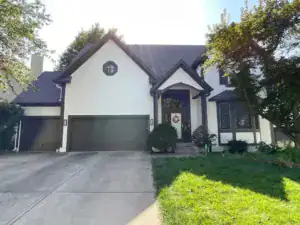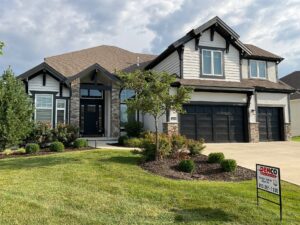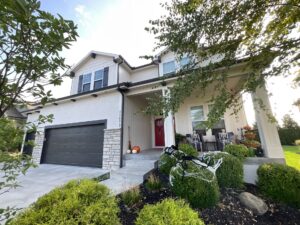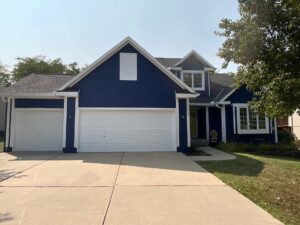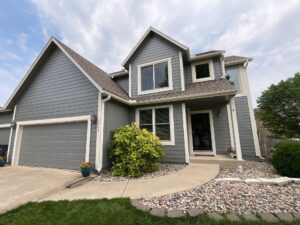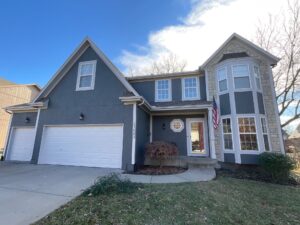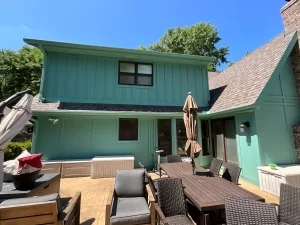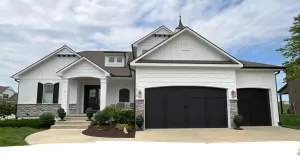
This exterior painting project in the Birchwood Hills neighborhood of Overland Park, Kansas came to PEMCO Painting through another referral. The homeowners had seen our crews painting several homes in their neighborhood and contacted us when it was time to update their own exterior.
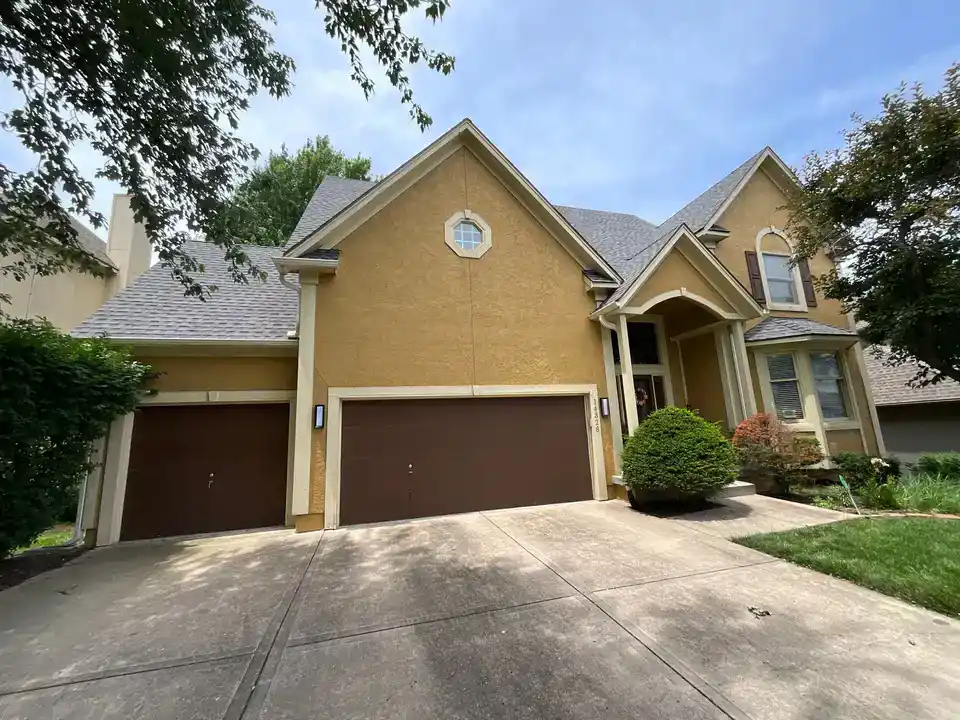
The home had not been repainted in well over 10 years. In addition to wanting a major color change, the homeowners also needed several areas of deteriorated siding and trim addressed before new paint could be applied.
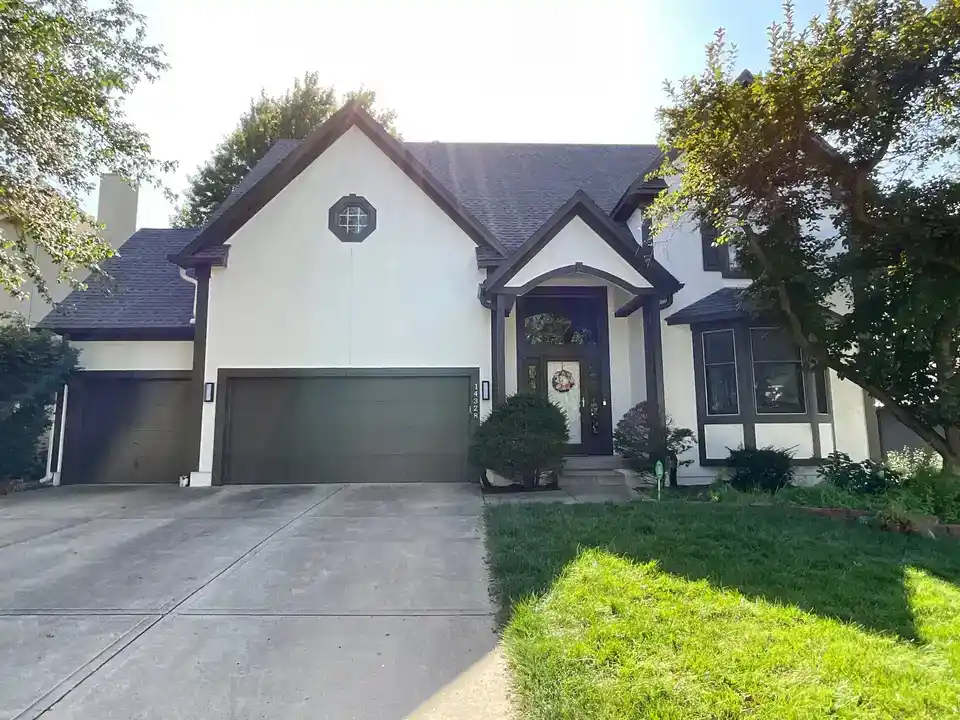
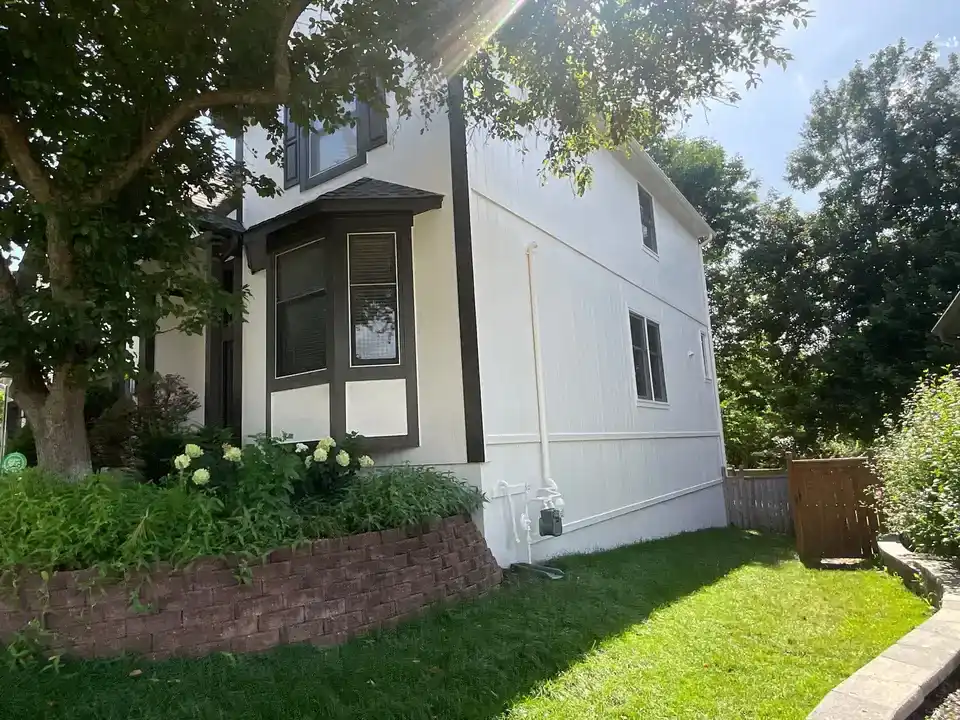
Their goal was to transform the existing tan-orange exterior into a much lighter color scheme using Sherwin-Williams Downy SW 7002, with Urbane Bronze SW 7048 used for the darker trim, garage doors, front door and architectural accents.
This project paints a picture of the extensive wood rot repair in Overland Park we fix for customers before paint touches the home.
Discovering Wood Rot and Siding Damage Before Painting
During our initial walk-around with the homeowner, we inspected the exterior from ground level and identified multiple areas that needed repair before the painting process could begin.
The home had an older hardboard or pressboard-style siding made from large sheets approximately 3/8-inch thick. This type of siding was commonly used on homes from this era, but once moisture begins affecting damaged edges, seams or penetrations, sections of the material can deteriorate.
On this home, we found damaged areas involving:
- Hardboard siding panels
- Fascia
- Soffit areas
- Exterior trim
- Chimney trim
- Window trim and brickmold
We never want to paint over bad wood so the damaged sections needed to be removed and replaced first.
Documenting the Wood Rot Repair Scope
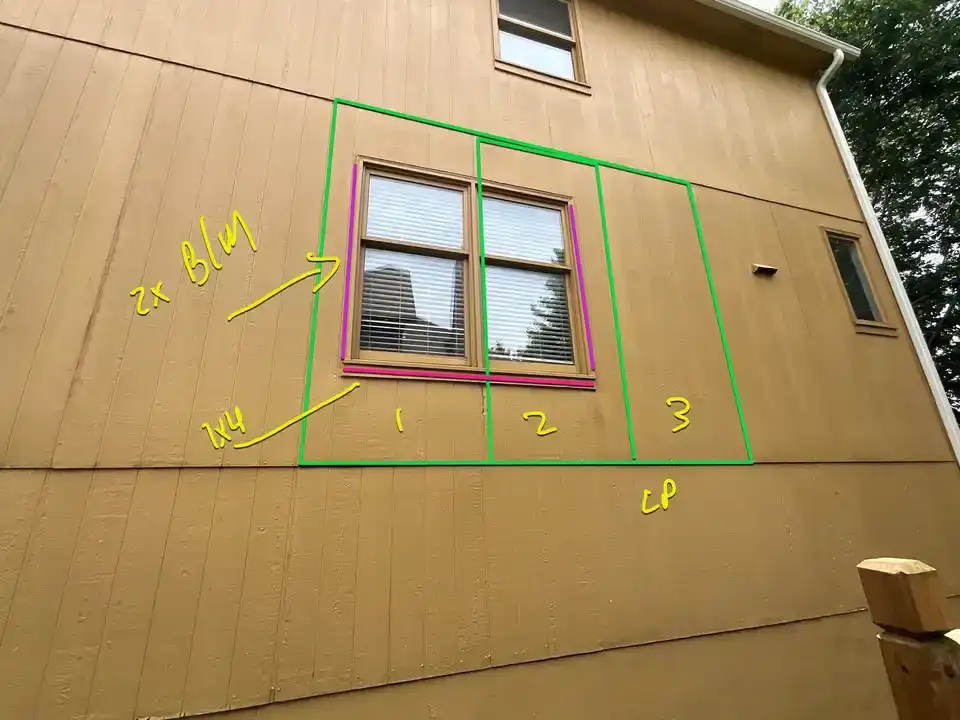
Before beginning the repairs, we photographed and measured the areas of visible damage around the home so they can be added to the proposal.
Documenting the repair locations gives both our team and the homeowner a clear understanding of what is included in the project before work begins.
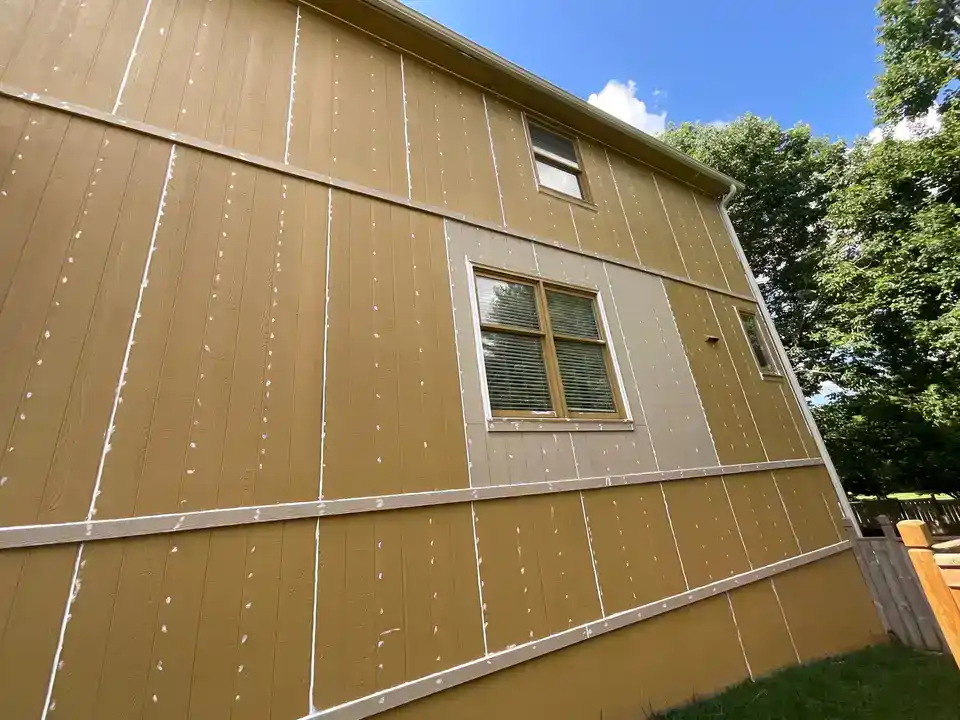
One of the more extensive repair areas was located around a window on the side of the home. Multiple sections of the existing hardboard siding had deteriorated and required replacement.
Because the siding panels ran behind surrounding trim, completing the repair involved more than simply cutting out one small damaged area.
Replacing Damaged Hardboard Siding with LP SmartSide
To properly repair the damaged siding around the window, our crew removed the adjoining trim and band board so the deteriorated siding panels could be taken off.
The nails securing the existing panels were removed individually before the old siding sheets were pulled from the home.
New LP SmartSide panel siding was then installed in place of the deteriorated hardboard material.
After the new siding was secured, the window and surrounding band boards were rebuilt using LP SmartSide trim to match the existing architectural details.
This approach allowed us to replace the failed materials rather than simply covering or patching over deteriorated siding before painting.
Fascia, Window Trim and Exterior Wood Repairs
The siding was not the only area requiring attention.
Several fascia areas also needed replacement. For these repairs, we used appropriately sized cedar boards, including 1×6 and 1×8 material depending on the existing construction.
Additional exterior trim and brickmold repairs were completed around windows and other areas where deterioration had developed.
Using exterior-rated replacement materials allows the repaired areas to be properly incorporated into the rest of the painting system once preparation begins.
Checking for Additional Wood Rot During the Project
One important part of exterior wood rot repair is recognizing that not every damaged area can always be identified during the original estimate.
Our initial exterior inspections are performed from ground level. This allows us to identify and document the visible repair scope before work begins.
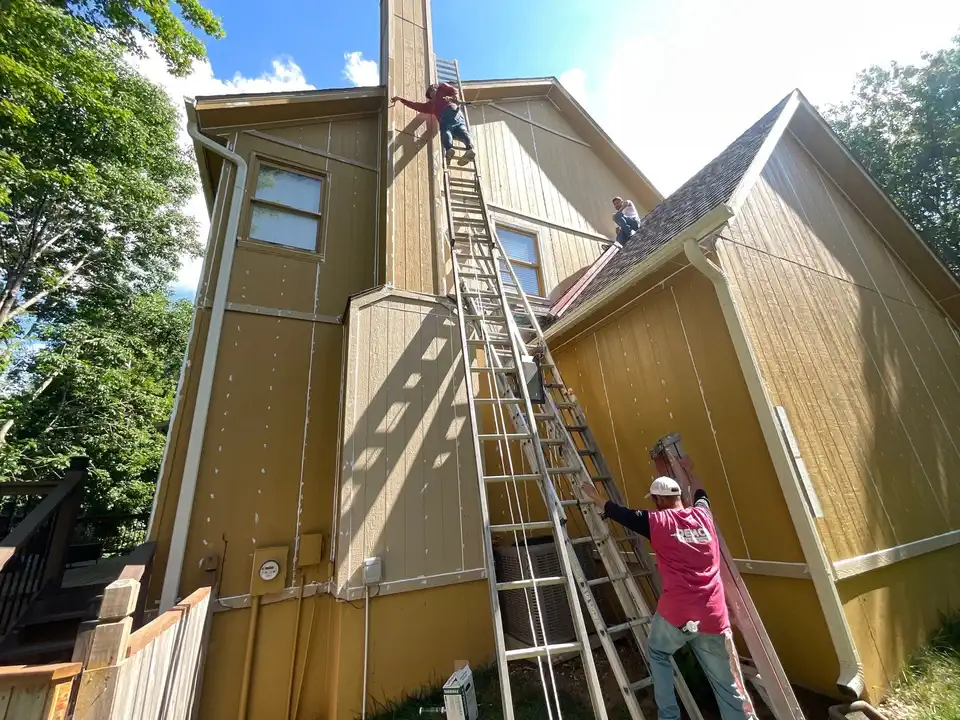
Once the crew is on site and working from ladders, they can inspect areas that are difficult to evaluate closely from the ground.
During this project, the crew continued checking the fascia, trim, siding and other elevated areas for deterioration that may not have been visible during the original estimate.
This additional inspection helps us address problems before the exterior is sealed and painted rather than discovering them after the project has been completed.
Preparing and Sealing the Exterior
After the damaged siding and trim materials were replaced and the old materials were removed from the property, the crew moved into the full preparation phase.
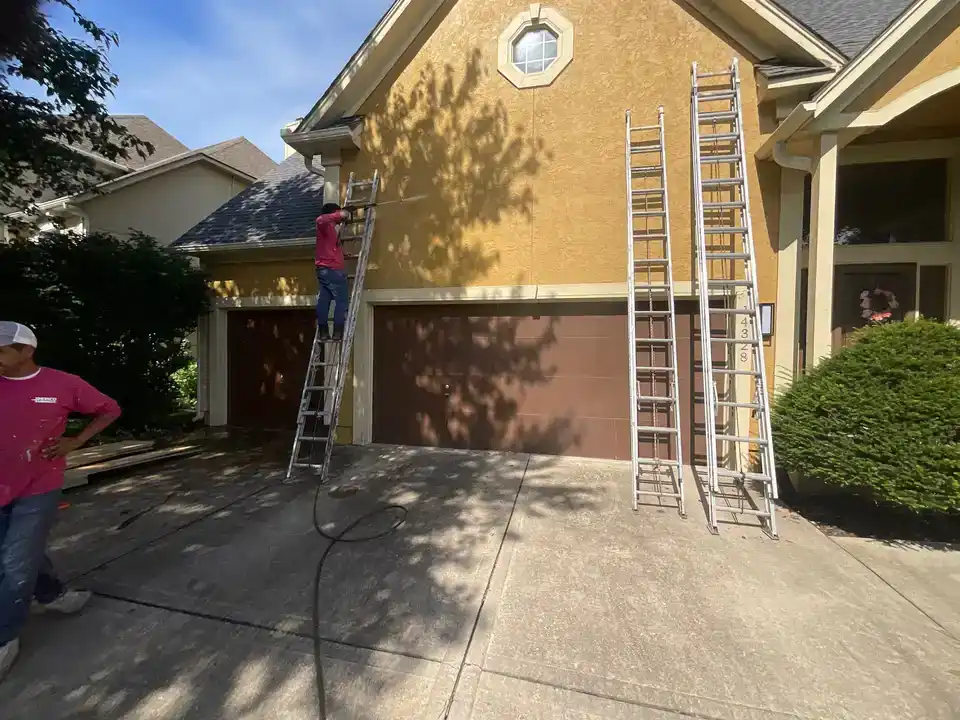
The home was pressure washed before painting to remove dirt and surface contamination and provide a clean substrate for the new coatings.
We then completed extensive caulking and sealing around the exterior using Sherwin-Williams SherMax urethanized elastomeric sealant.
Areas addressed included:
- Siding panel seams
- Nail heads
- Window trim
- Door trim
- New repair areas
- Previously caulked joints
- Other exterior gaps and penetrations
On a home with panel siding, sealing these joints and penetrations is an important part of the preparation process.
Our goal is not only to improve the appearance of the finished paint job, but also to help limit places where water can work behind the siding and trim in the future.
Painting with Sherwin-Williams Duration Exterior
Once the repair and preparation work was complete, the exterior was ready for paint.
We used Sherwin-Williams Duration Exterior for the primary painted surfaces.
Because the homeowners were making a significant change from the existing tan-orange color to the much lighter Downy color, coverage was an important consideration.
Our crew used a crosshatch spray application method on appropriate areas of the exterior, applying coating in multiple directions to help build proper film thickness and provide more consistent coverage over the previous color.
Changing the Exterior to Downy SW 7002
The homeowners selected Downy SW 7002 for the primary exterior color.
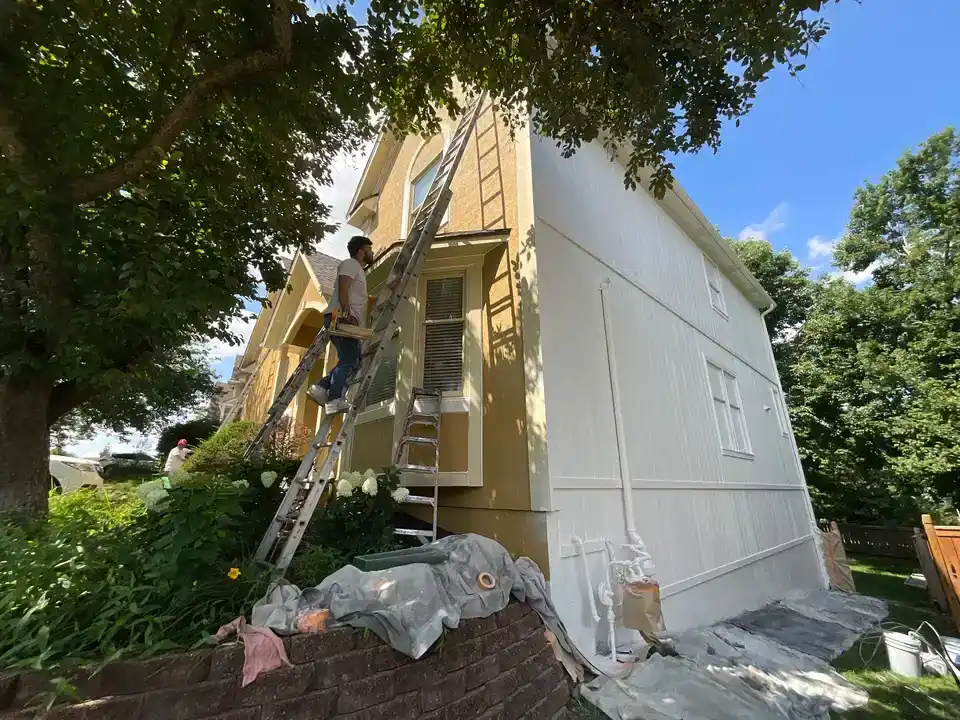
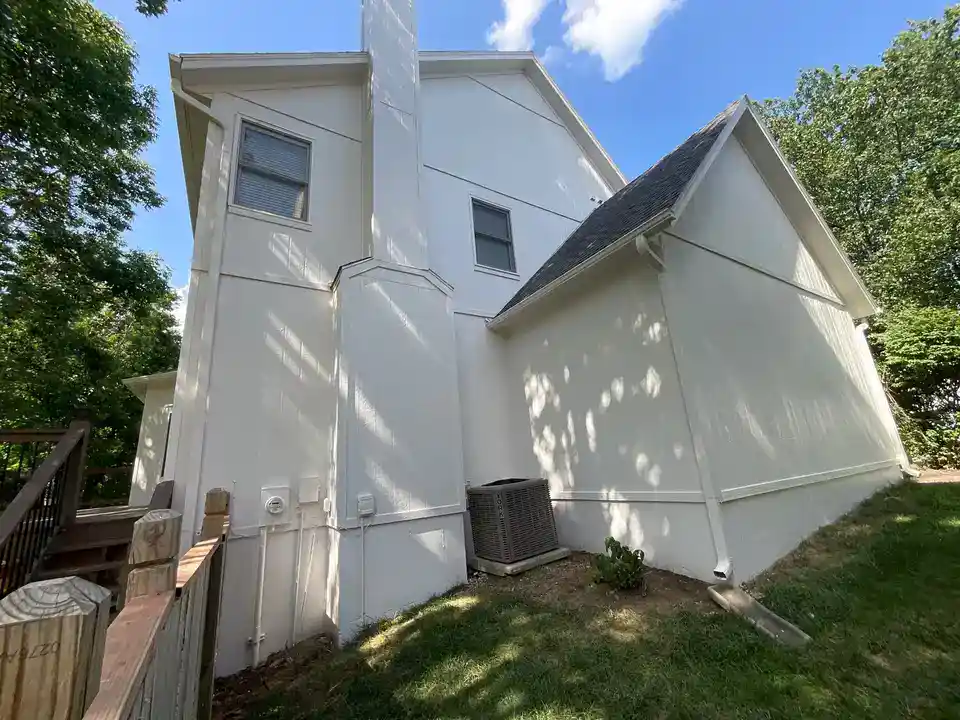
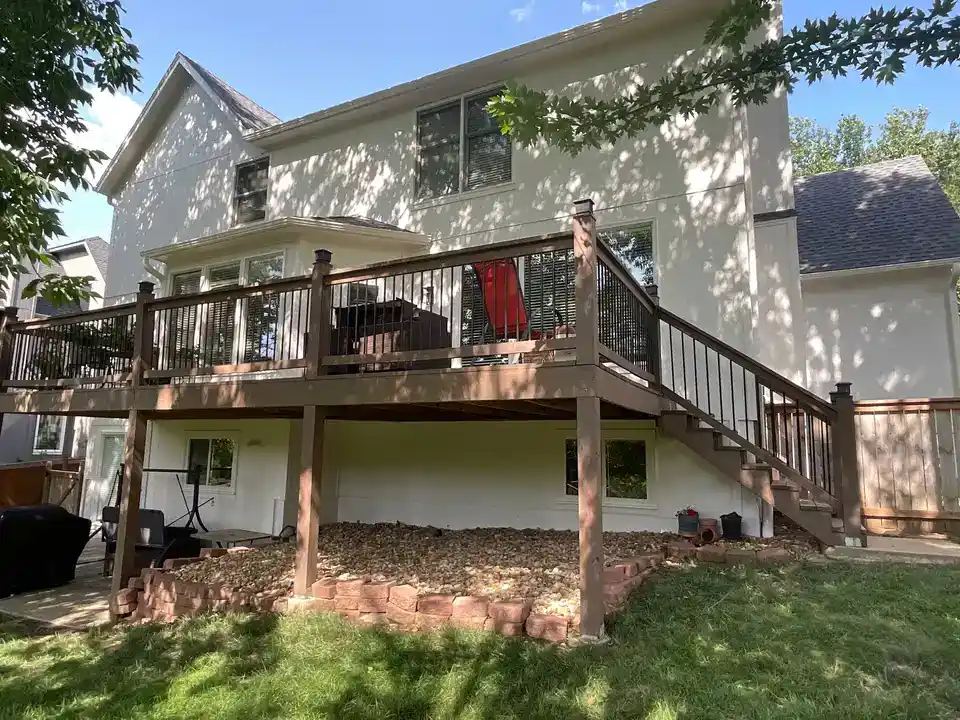
Compared with the existing darker tan-orange finish, Downy dramatically brightened the appearance of the house.
The lighter body color also helped emphasize the home’s architecture and created stronger contrast with the darker accent areas.
The transformation was especially noticeable on the large siding elevations along the sides and rear of the home, where the previous color was replaced by the new light exterior finish.
Adding Urbane Bronze Trim and Accents
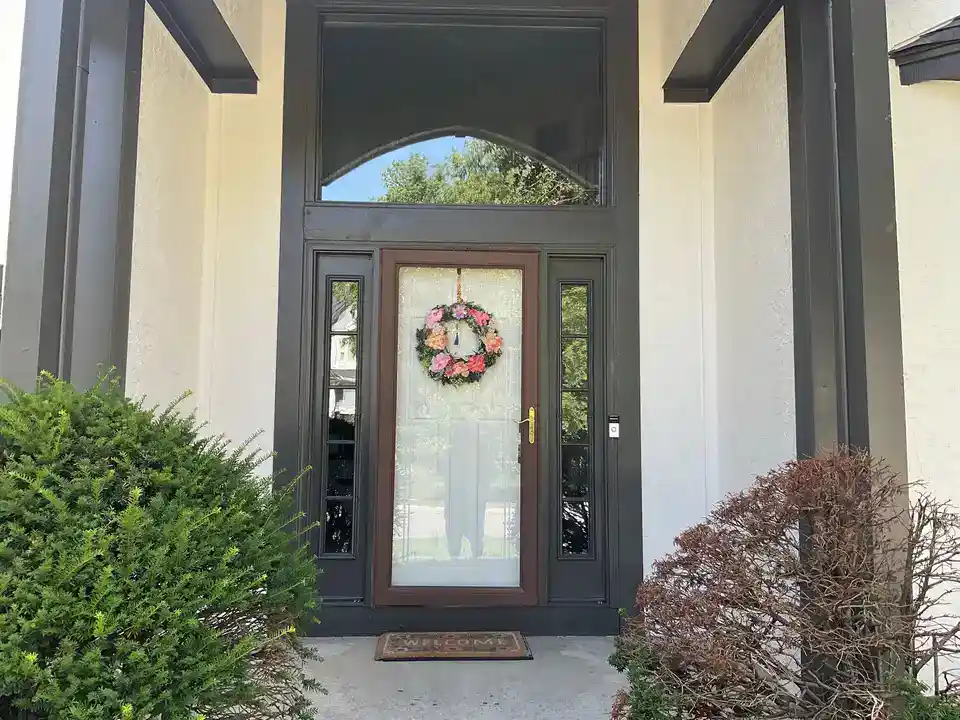
To provide contrast against the Downy body color, the homeowners selected Urbane Bronze SW 7048 for the darker elements of the home.
Urbane Bronze was used on areas including:
- Trim and architectural accents
- Garage doors
- Front door
- Selected exterior details
The combination of the light body color and dark accents gave the home a much more updated appearance while still working well with the existing roof, landscaping and architectural style.
As part of the finishing touches, the front door hardware was also replaced to help complete the updated entryway.
Completing the Exterior Transformation
Once the siding repairs, trim repairs, preparation, sealing and painting were complete, the home looked dramatically different from where the project began.
The original tan-orange exterior was replaced with the much brighter Downy and Urbane Bronze color combination, while deteriorated siding and trim had been replaced before painting.
The homeowners were extremely happy with the finished project and told us they had received compliments from neighbors throughout the area about the transformation.
For us, the most important part of this project was that the improvement was more than cosmetic.
Addressing the damaged siding, fascia and trim first allowed the new paint system to be applied over properly repaired and prepared surfaces.
Wood Rot Repair and Exterior Painting in Overland Park, KS
Exterior painting projects can sometimes uncover problems that need to be addressed before the first finish coat is applied.
When deteriorated siding, fascia or trim is present, simply painting over the damage does not solve the underlying problem.
PEMCO Painting provides wood rot repair and exterior house painting in Overland Park, KS, allowing homeowners to address both the condition and appearance of their exterior as part of one coordinated project.
From the initial inspection and repair documentation through siding replacement, caulking, preparation and final painting, our goal is to provide homeowners with a finished exterior that looks great while giving proper attention to the surfaces underneath it.
You can also see another exterior painting transformation in Mills Farm, Overland Park, where we changed a darker home to Origami White with Iron Ore and Tricorn Black accents.